Start with the destination contract
Orbit's conversion workflow starts with PNG, JPEG or WebP and ends with a raster file, an icon file or an image data URL. It is not a document, audio, video or archive converter. A PDF, layered design project or SVG source belongs in a different workflow. Before choosing a tool, write the destination requirement as a short sentence: this image must retain transparency, this icon must remain recognizable at 16 pixels, or this HTML example must contain a self-contained image.
Those requirements lead to different operations. Image Converter changes the encoded raster format. Favicon Generator creates small square images and an ICO container. Image to Base64 emits text containing image bytes with a data URL prefix. None of these operations makes the subject more detailed. An enormous photograph of a complex scene rarely becomes a clear favicon simply because the file has the correct extension.
Work from a square icon composition
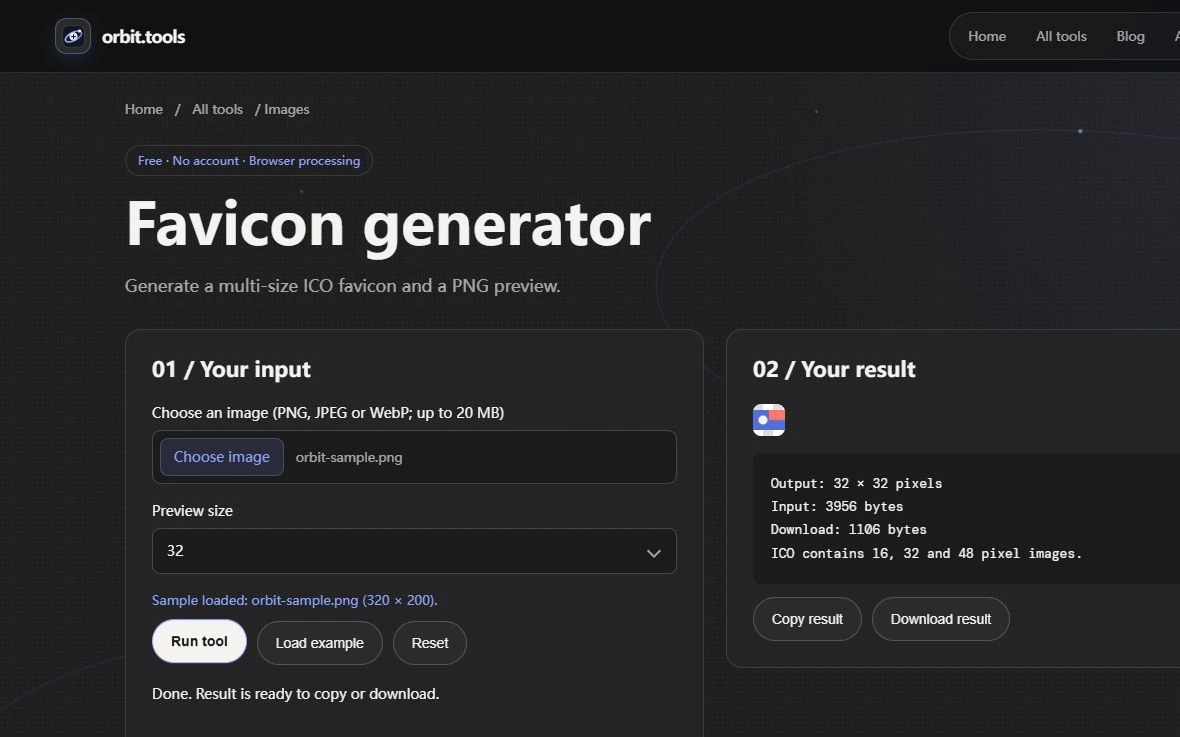
For a favicon, first select a simple crop with Image Cropper. Use a square region that includes the part people should recognize, then preview the result before continuing. Favicon Generator accepts the raster source and offers output sizes suitable for small icons; its ICO result contains 16, 32 and 48 pixel image frames. A preview is a convenient inspection aid, while the downloaded ICO is the container used by the destination application.
Check the smallest size independently. Fine outlines and small lettering can disappear even when the larger preview looks attractive. If the composition is wrong, return to the source crop instead of repeatedly resizing a tiny output. A raster favicon has fixed pixel dimensions; it is not an SVG icon and does not acquire vector scalability by being placed in an ICO file. Keep the full-resolution source alongside approved icon exports.
Embedding changes packaging, not privacy
Image to Base64 emits a complete data URL, including the image MIME label and a Base64 payload. Use the complete value where an image URL is expected. Pasting only the payload into an image source removes the type and encoding context that the receiver needs. For an ordinary three-byte group, Base64 uses four text characters; the final text also includes a prefix and possibly padding. Embedding is therefore not a compression technique.
A self-contained HTML demonstration may benefit from an embedded small image because it avoids a second file. A large repeated photograph is a different trade: embedding can enlarge the document and prevent that image from being requested as a separately cached resource. Choose based on how the destination handles assets rather than treating all requests as inherently bad. Base64 is reversible encoding, so anyone who receives the text can recover the image; it does not conceal faces, addresses or other private details.
Verify a derivative before replacing a reference
Make one candidate in the intended format and open the downloaded file in its destination. If you chose JPEG, expect the local export to flatten transparent areas over white. If you chose a data URL, paste it into a disposable local HTML example and confirm that it displays. If you chose ICO, inspect the small frames in an application that understands icon containers. These are different acceptance tests because the outputs solve different problems.
The raster tools limit input size and pixel dimensions to keep processing bounded. A file rejected for those limits has not been partially converted, and renaming it will not reduce its memory requirements. Use an appropriate local image editor to create a smaller source when necessary. The goal is a derivative that meets a known contract, with a recoverable source and an honest description of what changed.
Treat the filename and the bytes separately
Changing a filename from .png to .webp does not convert the image. The file's encoded data and its served media type must agree with the extension. Browsers and applications use the actual data and declared content type when deciding how to handle a file. MDN's MIME type guide describes common types such as image/png and image/webp. After a conversion, verify the output in an application that understands the target format rather than trusting the name alone.
Also check dimensions, transparency, animation, orientation, and any embedded metadata the task depends on. A photo can look broadly similar while losing a transparent edge or being resized. A layered design can appear intact in a preview even though the export has been flattened. If the conversion is intended for the web, test the resulting file in the target browser and inspect the network response for the expected content type.
Review and archive the result
Open the converted file and test the property that motivated the conversion. If the reason was a smaller image, compare the byte size and visual quality. If the reason was transparency, place it over two backgrounds. If the reason was editability, make a small test edit and undo it. If the reason was compatibility, open the result in the intended application or browser. A successful download is not the same as a successful conversion.
Store the approved output separately from the source and give it a name that explains its use. Keep the source if it may need another export, and preserve an editable master when future revisions are expected. If several versions exist, record which one was approved and where it is used. A short review at the end is often faster than rebuilding an asset after a hidden detail turns out to have been lost.