Establish a comparison you can repeat
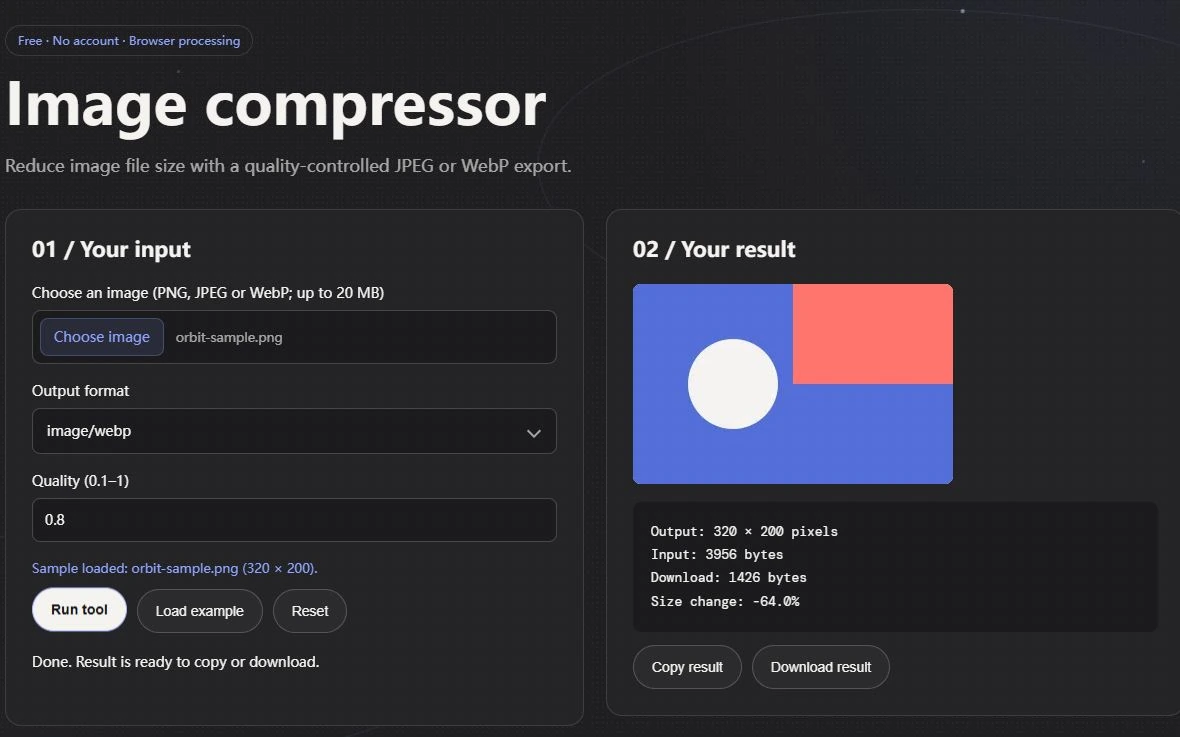
Use Image Compressor for JPEG or WebP exports with a quality value between 0.1 and 1. Start with one source file and record its dimensions and byte size before running anything. Make two exports at 0.8 and 0.6 using the same format. Keep the filenames distinct so that opening the second result does not accidentally replace your reference. The numbers are experiment settings, not promises of 80 percent visual quality or 40 percent savings.
Orbit does not provide a synchronized comparison divider or a batch benchmark. Open the original and each downloaded candidate in your image viewer and compare the same regions at the same magnification. A useful record has four fields: source dimensions, export format, quality setting and observed file size. Add one sentence describing the first visible defect. That last field is what prevents a spreadsheet of byte counts from choosing an unreadable screenshot.
Resize before lowering quality again
Suppose a 1,600 by 1,000 image will occupy an 800 by 500 CSS pixel box. An 800 by 500 derivative has one quarter of the pixel count, but that does not guarantee one quarter of the compressed bytes. Texture, encoder behavior and the device's required pixel density still matter. If a higher density display needs the larger derivative, provide a suitable responsive source in the destination website rather than assuming a small export fits every display.
To test the effect of geometry, resize from the original in Image Resizer, download that result and use it as a new compressor input. Compare it at its intended display size. Do not describe the saving as caused solely by quality if dimensions changed too. For an image containing a serial number, a chart label or another essential detail, reject a candidate if that detail becomes ambiguous even when the overall photograph looks acceptable.
When compression makes a file larger
A small or previously optimized input can grow after a new export. Canvas may choose a different encoding strategy, and the tool is not a lossless optimizer for every existing file. Retain the smaller original if it satisfies the delivery requirements. Repeated export is not a repair for lost detail, and increasing quality after damage cannot reconstruct the source.
PNG is available in Image Converter for assets that need that format; the compressor's lossy quality control is not a PNG optimization setting. Neither tool preserves an editable image project or offers an animation workflow. The output you approve should have a clear purpose, such as a product card derivative, rather than replacing every source image indiscriminately. Record the browser used if another person needs to reproduce a close byte-size comparison.
Make a safe working copy first
Image compression is a trade between bytes, visual detail, dimensions, and format features. A smaller file is useful only if the image still does its job. Before experimenting, duplicate the source or make sure the original can be recovered. This matters most when the source is a layered project, an image with transparency, or a file that has already passed through several exports. A compressed copy should be treated as a delivery asset, not as the only surviving master.
Write down where the image will appear and how large it needs to be. A large hero photograph and a small avatar should not automatically use the same pixel dimensions. If the display box is 700 pixels wide, exporting a 5000-pixel image may create unnecessary bytes unless a higher-density display or alternate responsive source is planned. Resize a copy to plausible delivery dimensions before tuning compression so the comparison is useful.
Choose the right encoder settings
Lossy compression removes some information to reduce size; lossless compression retains the image data exactly while finding a more compact representation. WebP supports both approaches, and JPEG is lossy. PNG is often chosen for lossless graphics and transparency. The visual content should guide the choice. A photograph can tolerate some fine-grain changes that would make text or a one-pixel line look visibly damaged.
A quality number is not a universal measure across codecs. A setting of 80 in one tool is not guaranteed to look like 80 in another. Start from a reasonable middle setting, create a candidate, and compare it with the original at normal viewing size and at 100 percent. If you see halos around edges, texture that looks waxy, blocks in a gradient, or a subject edge that has changed, adjust the setting or try another format.
Finish with a page-level check
Compression is only one part of image delivery. Give images descriptive names, include accurate width and height attributes, and avoid sending a huge source to a tiny mobile card. Use responsive image sources when the page genuinely needs different sizes. If the image communicates information, write alternative text that conveys that information. If it is purely decorative, the page's markup can mark it as decorative rather than repeating nearby text.
Finally, open the exported file in the target browser and review it in context. An image that appears acceptable in a zoomed editor can look muddy once it sits beside text or on a different background. Check the local page over the connection and viewport sizes you expect people to use. Save the selected output separately from the original, and compare the actual file size after export rather than relying on a preview estimate.